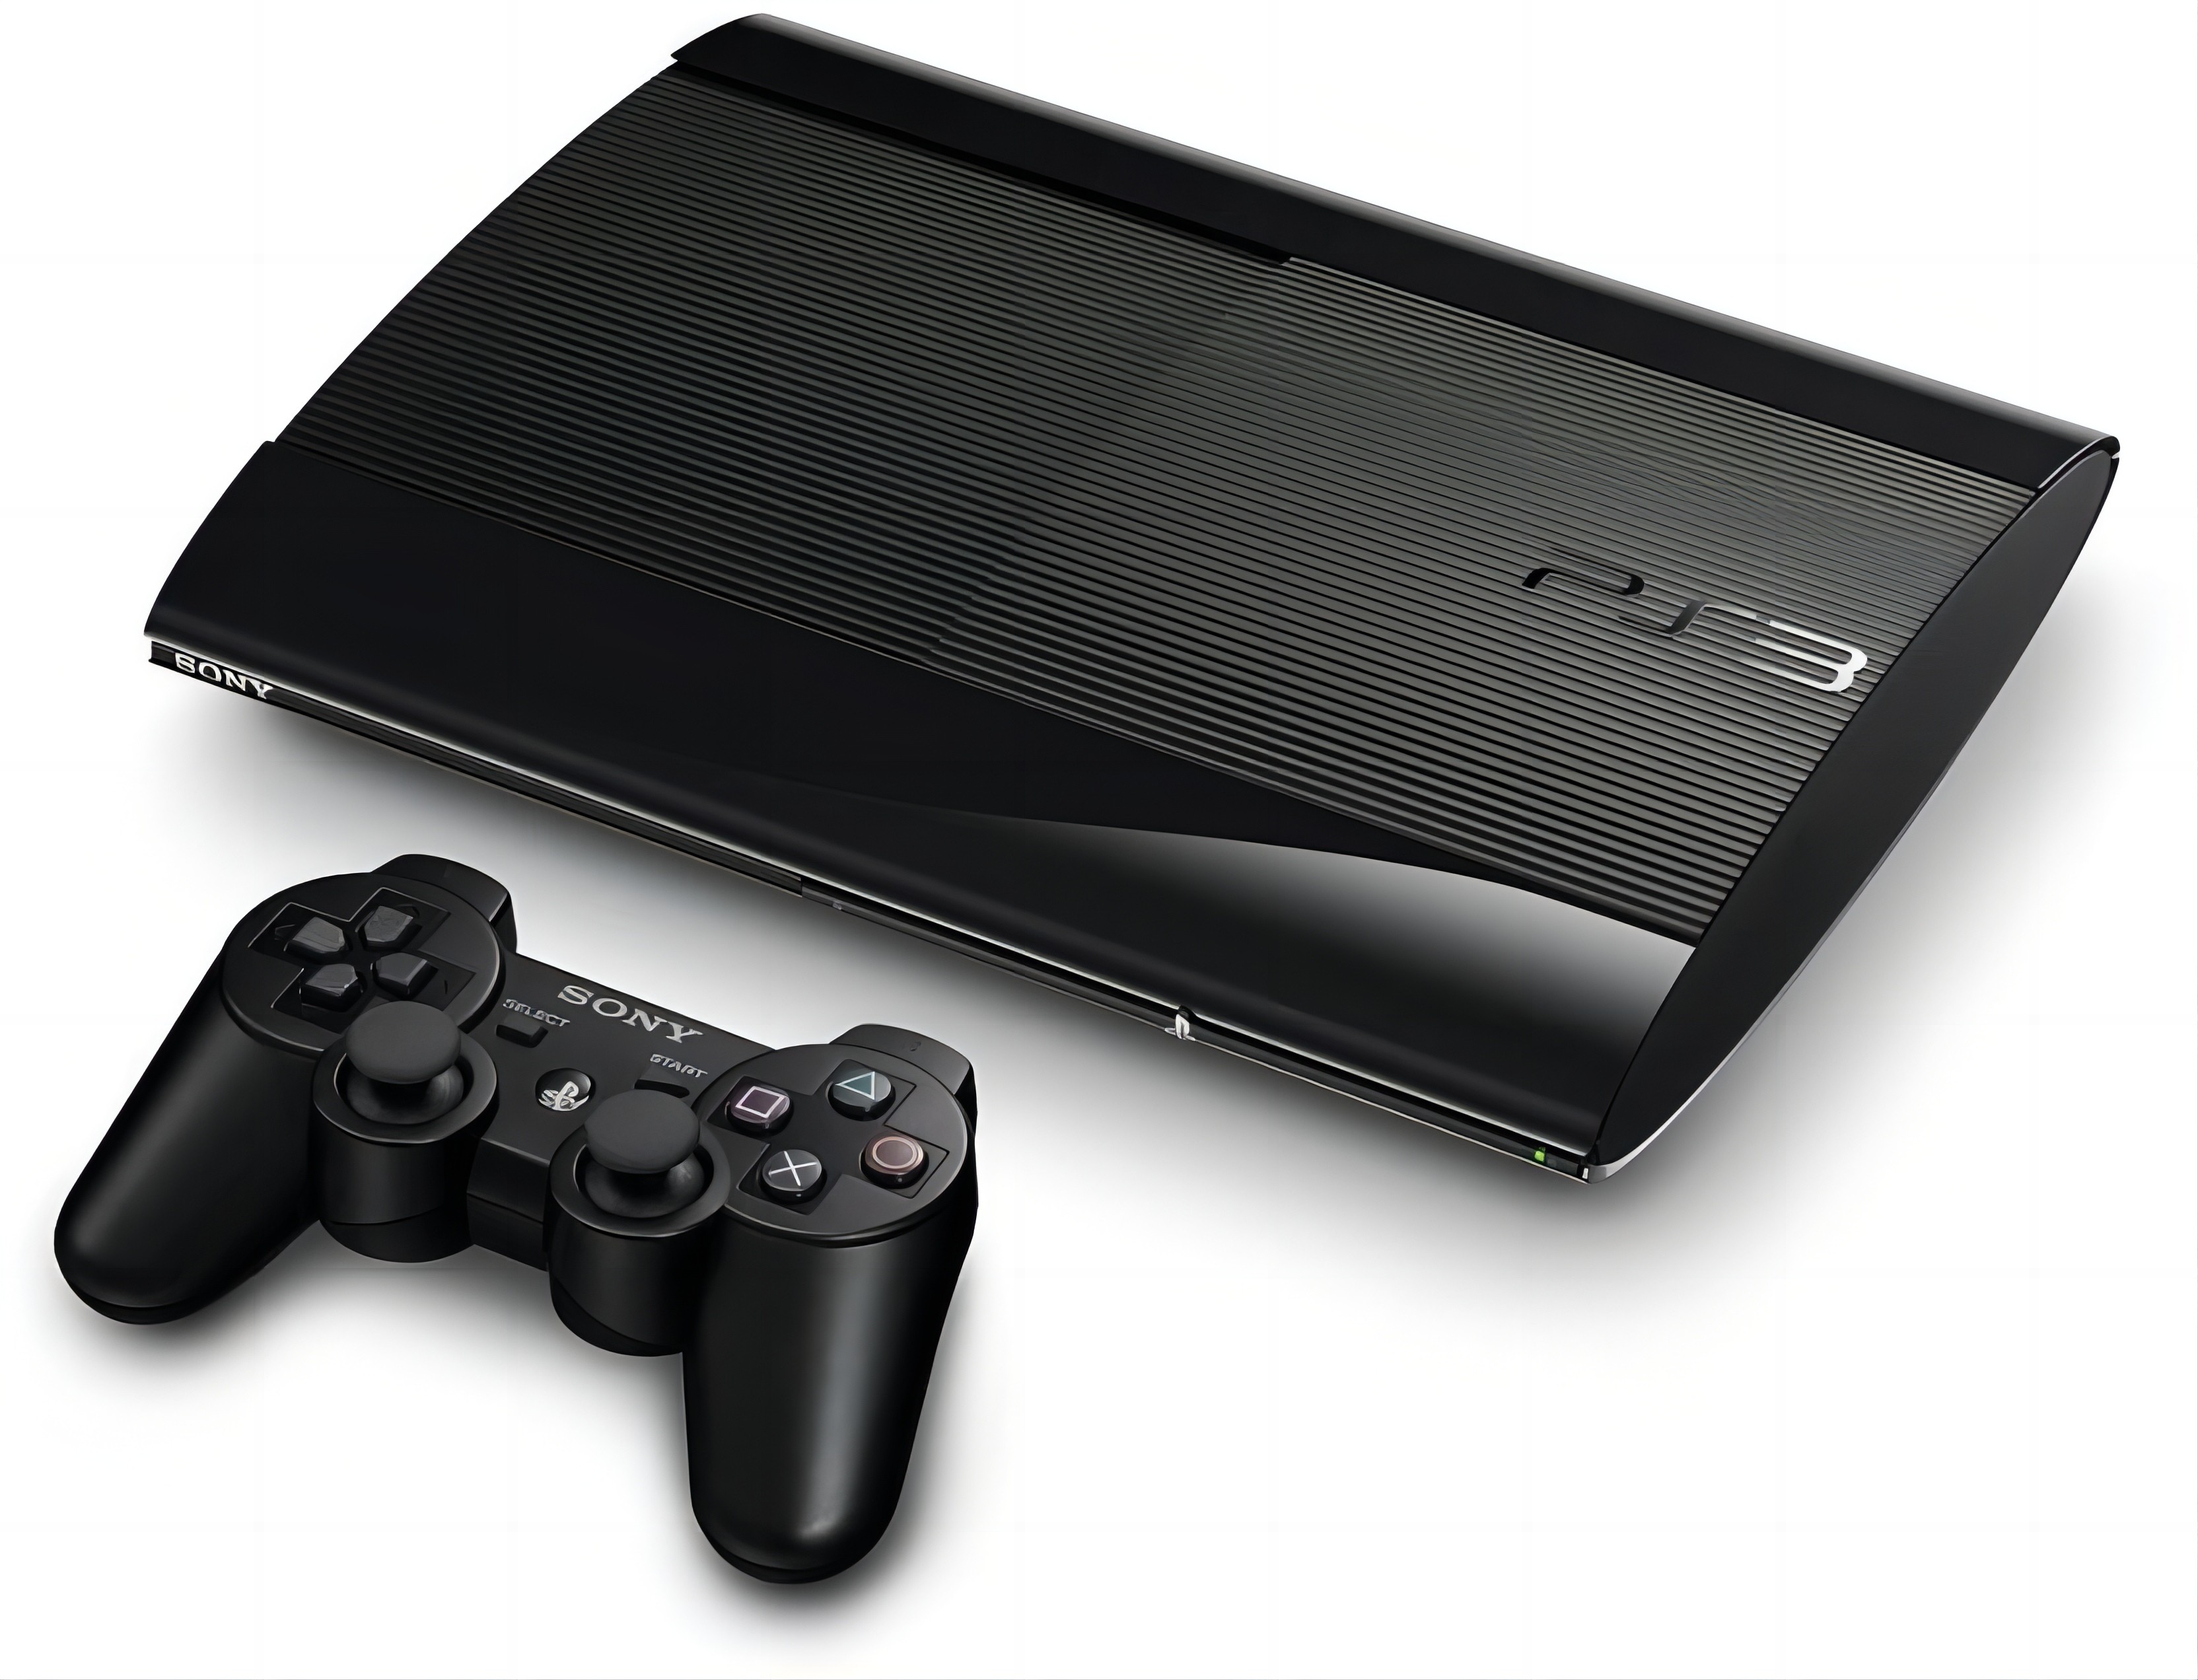
There may be many different reasons why you need to reset your PS3 device. If your game or video is stuck and unresponsive, performing a quick reset should fix the problem. If you encounter problems after replacing the video cable, you can try resetting the video output settings to solve the problem. If you are experiencing frequent lockups or problems with the main interface (XMB aka Graphical User Interface), you may want to try using the hard drive tool in Safe Mode to fix it.
Reset PS3 Lag Issue
Press and hold the PS3 power button. If your PS3 device freezes and becomes unresponsive, you can manually reset it. You have to perform the reset operation from the console because the controller is likely to become unresponsive at this time.
Press and hold the power button for about 30 seconds. You will hear three short beeps, and then your PS3 will automatically shut down.
After waiting a few seconds, press the power button again to turn it on. Do not use the gamepad controller to turn on the PS3 as it may not have detected the PS3 device at this time.
Allow the system to detect errors. Your PS3 device will most likely try to detect errors on the disk after restarting. This process may take a while or it may be completed instantly. Please allow the device to detect itself.
Reset Video Output Settings
Make sure the PS3 is turned off. The power light on the front should be red.
- If you switch the TV output source or change the HDMI data cable, and there is nothing on the screen when you turn on the PS3 device, you may need to reset the video output.
Disconnect the PS3 and TV from the wall outlet.
Make sure the PS3 device is connected to the TV via HDMI cable.
Connect the PS3 and TV to power sockets.
Adjust your TV input settings to the correct HDMI input source.
Press and hold the PS3 power button until you hear the second beep. This process takes about 5 seconds.
Use a PS3 controller to complete the HDMI image setup. You’ll need to press the PS button on your controller to turn it on before setting it up.
Go to Settings → Display Settings. Here you need to set the correct resolution.
Turn on Safe Mode
Learn why you need to use safe mode. Safe mode on PS3 devices allows you to use some diagnostic and repair tools to fix problems such as frequent system lags and glitches. You can use safe mode to rebuild the file system or reset the PS3 to factory settings.
Back up your saved game files. Before attempting any repair work on the PS3 file system, it is best to back up all your saved data in case the repair goes wrong and results in file loss. You can back up your data to a USB flash drive, and most saved game files are between 5-20 MB in size.
Turn off your PS3. To enter safe mode, you need to turn off your PS3 device first.
Press and hold the power button and you’ll hear the first beep.
Continue to hold the power button until you hear a second beep, then a third beep. The system will then power off and the power light will turn red.
Press and hold the power button again. You will hear the same first and second beeps as before.
Continue to hold the power button until you hear a quick beep. Release the power button. Next, you can see a message that says “Connect the controller using USB and press the PS button.”
Connect the gamepad controller and turn it on. In safe mode, you cannot use wireless game controllers.
Use safe mode to reset your PS3. You can choose from several options to help fix the issues you’re experiencing with your PS3. Try the following options to see if they fix the problem. If one method doesn’t work, try the next one.
- Restore File System – This attempts to repair damaged files on the hard drive.
- Rebuild Database – This attempts to repair the database information on the hard drive. It will delete various messages and notifications, as well as folders you created. However, the file will not be deleted.
- Restore PS3 System – This will reset the PS3 to its default factory settings and delete all data stored on the hard drive. Please make sure you have backed up all files and data you want to save before performing this repair operation.


